3D Printing an object on a filament deposition based printer
In this section, we will do an exercise to practice the theory previously presented. We will take a 3D model and pass to all the steps of the FDM workflow.
Obtaining the 3D model
For this exercise, we will download a 3D model from a specialised online repository. Thingiverse (www.thingiverse.com) is the biggest such repository, with more than 1.7 million freely available3D models. The selected model is “Phone holder Phone stand by byctrldesign”, downloadable from www.thingiverse.com/thing:525066.
As you can see in the below picture, Thingiverse offers plenty of information about the models, including printing details, comments from other users, pictures of 3D printed objects already made by others and remixes. The files needed for 3D printing can be download either using “Thing files” button (thus we can select the exact files we want to download) or “Download all files” button.

Selected 3D model. Source: www.thingiverse.com
The file phone_holder_by_ctrl_design.stl was selected. As this is already a .stl file, we do not need to convert the 3D model so we can move to the next step.
Slicing the .stl file
As already discussed previously, slicing means to divide the 3D model into multiple layers. In addition, the slicing software include the 3D printer’s characteristics and the printing settings and generate the G-code file.
We will use the slicer software Ultimaker Cura, the most popular 3D printing software, freely available for download on https://ultimaker.com/software/ultimaker-cura. It needs to be installed on the computer in order to be used. For starting, the 3D printer we intend to use must be added. A large number of 3D printers, from many producers, can be selected from the list made available by Cura. If your 3D printer is not on the list, you can add it choosing the option “Custom FFF Printer” and configuring it in the following menu. You can also change the name – we named our 3D printer “4.0 ANDCOM”.

Cura – adding a printer. Source: Ludor Engineering
Next, we need to open the 3D model in slicer – click on the “Open File” button in the top left corner of the screen, select the .stl file and open it. It will now be loaded, placed in the middle of the print bed and shown on the 3D viewer. The object can be moved on the print bed, rotated and zoomed using the mouse or the buttons. The buttons can also be used for scaling, mirroring, etc.

Cura – model loaded. Source: Ludor Engineering
One important thing we need to do it is to correctly position the model on the print bed. In this case, the best position is as shown in the picture below because this way we do not need support structure and we have the biggest contact surface between part and print bed. To obtain this position, we can use one of the two buttons outlined in the picture: “Lay flat” or “Select face to align to the build plate”. Right click anywhere on the screen will open a menu with other useful commands, including “Center Selected Model”.

Cura – positioning the model. Source: Ludor Engineering
Next, the printing material must be selected – we chosen “Generic PLA” using the third button from the top left corner.

Cura – material selection. Source: Ludor Engineering
Afterward, we need to setup the printing parameters. By default, Cura opens in the recommended mode, which is ideal for a quick print with optimized printing profiles. However, by clicking on “Custom” button several other profiles can be selected, from “Extra fine” to “Extra coarse”. In addition, for each profile, the printing parameters can be modified.

Cura – print settings. Source: Ludor Engineering
We will select the profile “Normal”, keep the default settings and then click on “Slice” button to start slicing. Cura also calculates the printing time and the weight and length of the filament needed to complete the print. Next, using “Preview” we can visualise the layers and can watch an animation of the layers deposition.

Part preview. Source: Ludor Engineering
Finally, the G-code file is generated and it can be saved on a removable drive and transferred to the 3D printer.
3D printing
After loading the G-code and preparing the 3D printer, the printing can start.

Part 3D printing. Source: Ludor Engineering

Part 3D printing. Source: Ludor Engineering

The 3D printed part. Source: Ludor Engineering
Post-processing
In this case, the post-processing consists only in the removal of the brims (the single layer flat area around the base of the part, used to prevent warping – see the picture below). This can be easily done with a cutting plier or a cutter.

Brims. Source: Ludor Engineering
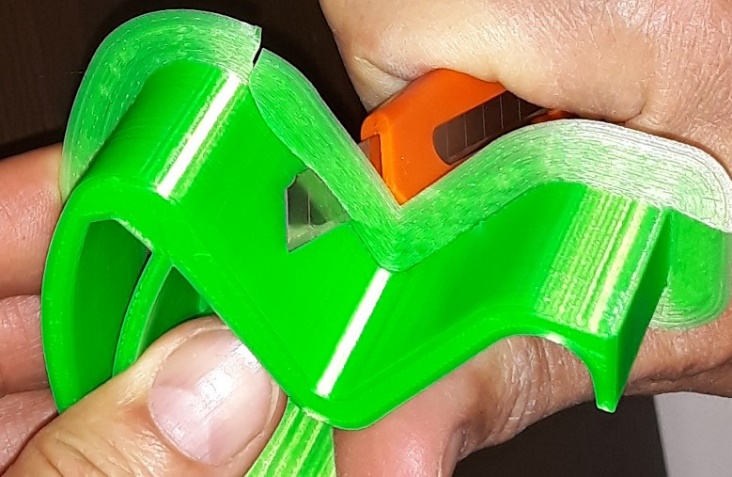
Brim removing. Source: Ludor Engineering

The post-processed 3D printed part. Source: Ludor Engineering